Welcome to Kyvento: quick-start guide
Overview
This guide takes you, in the recommended order, from sign-up to the first invoice to your customers. It is the signpost: each step says what to do and links to the article with the details.
Step 1: Register and confirm your email address
Create your account at app.kyvento.com/register. You will then receive a confirmation email — without clicking the confirmation link you cannot log in. Didn't receive it? Check your spam folder or request a new one.
For details on the form, the two mandatory checkboxes and your legal documents, see Creating and setting up your account.
Step 2: Work through the setup wizard
The first time you log in, a welcome dialog greets you. Only "Start setup" opens the wizard — it does not start on its own.
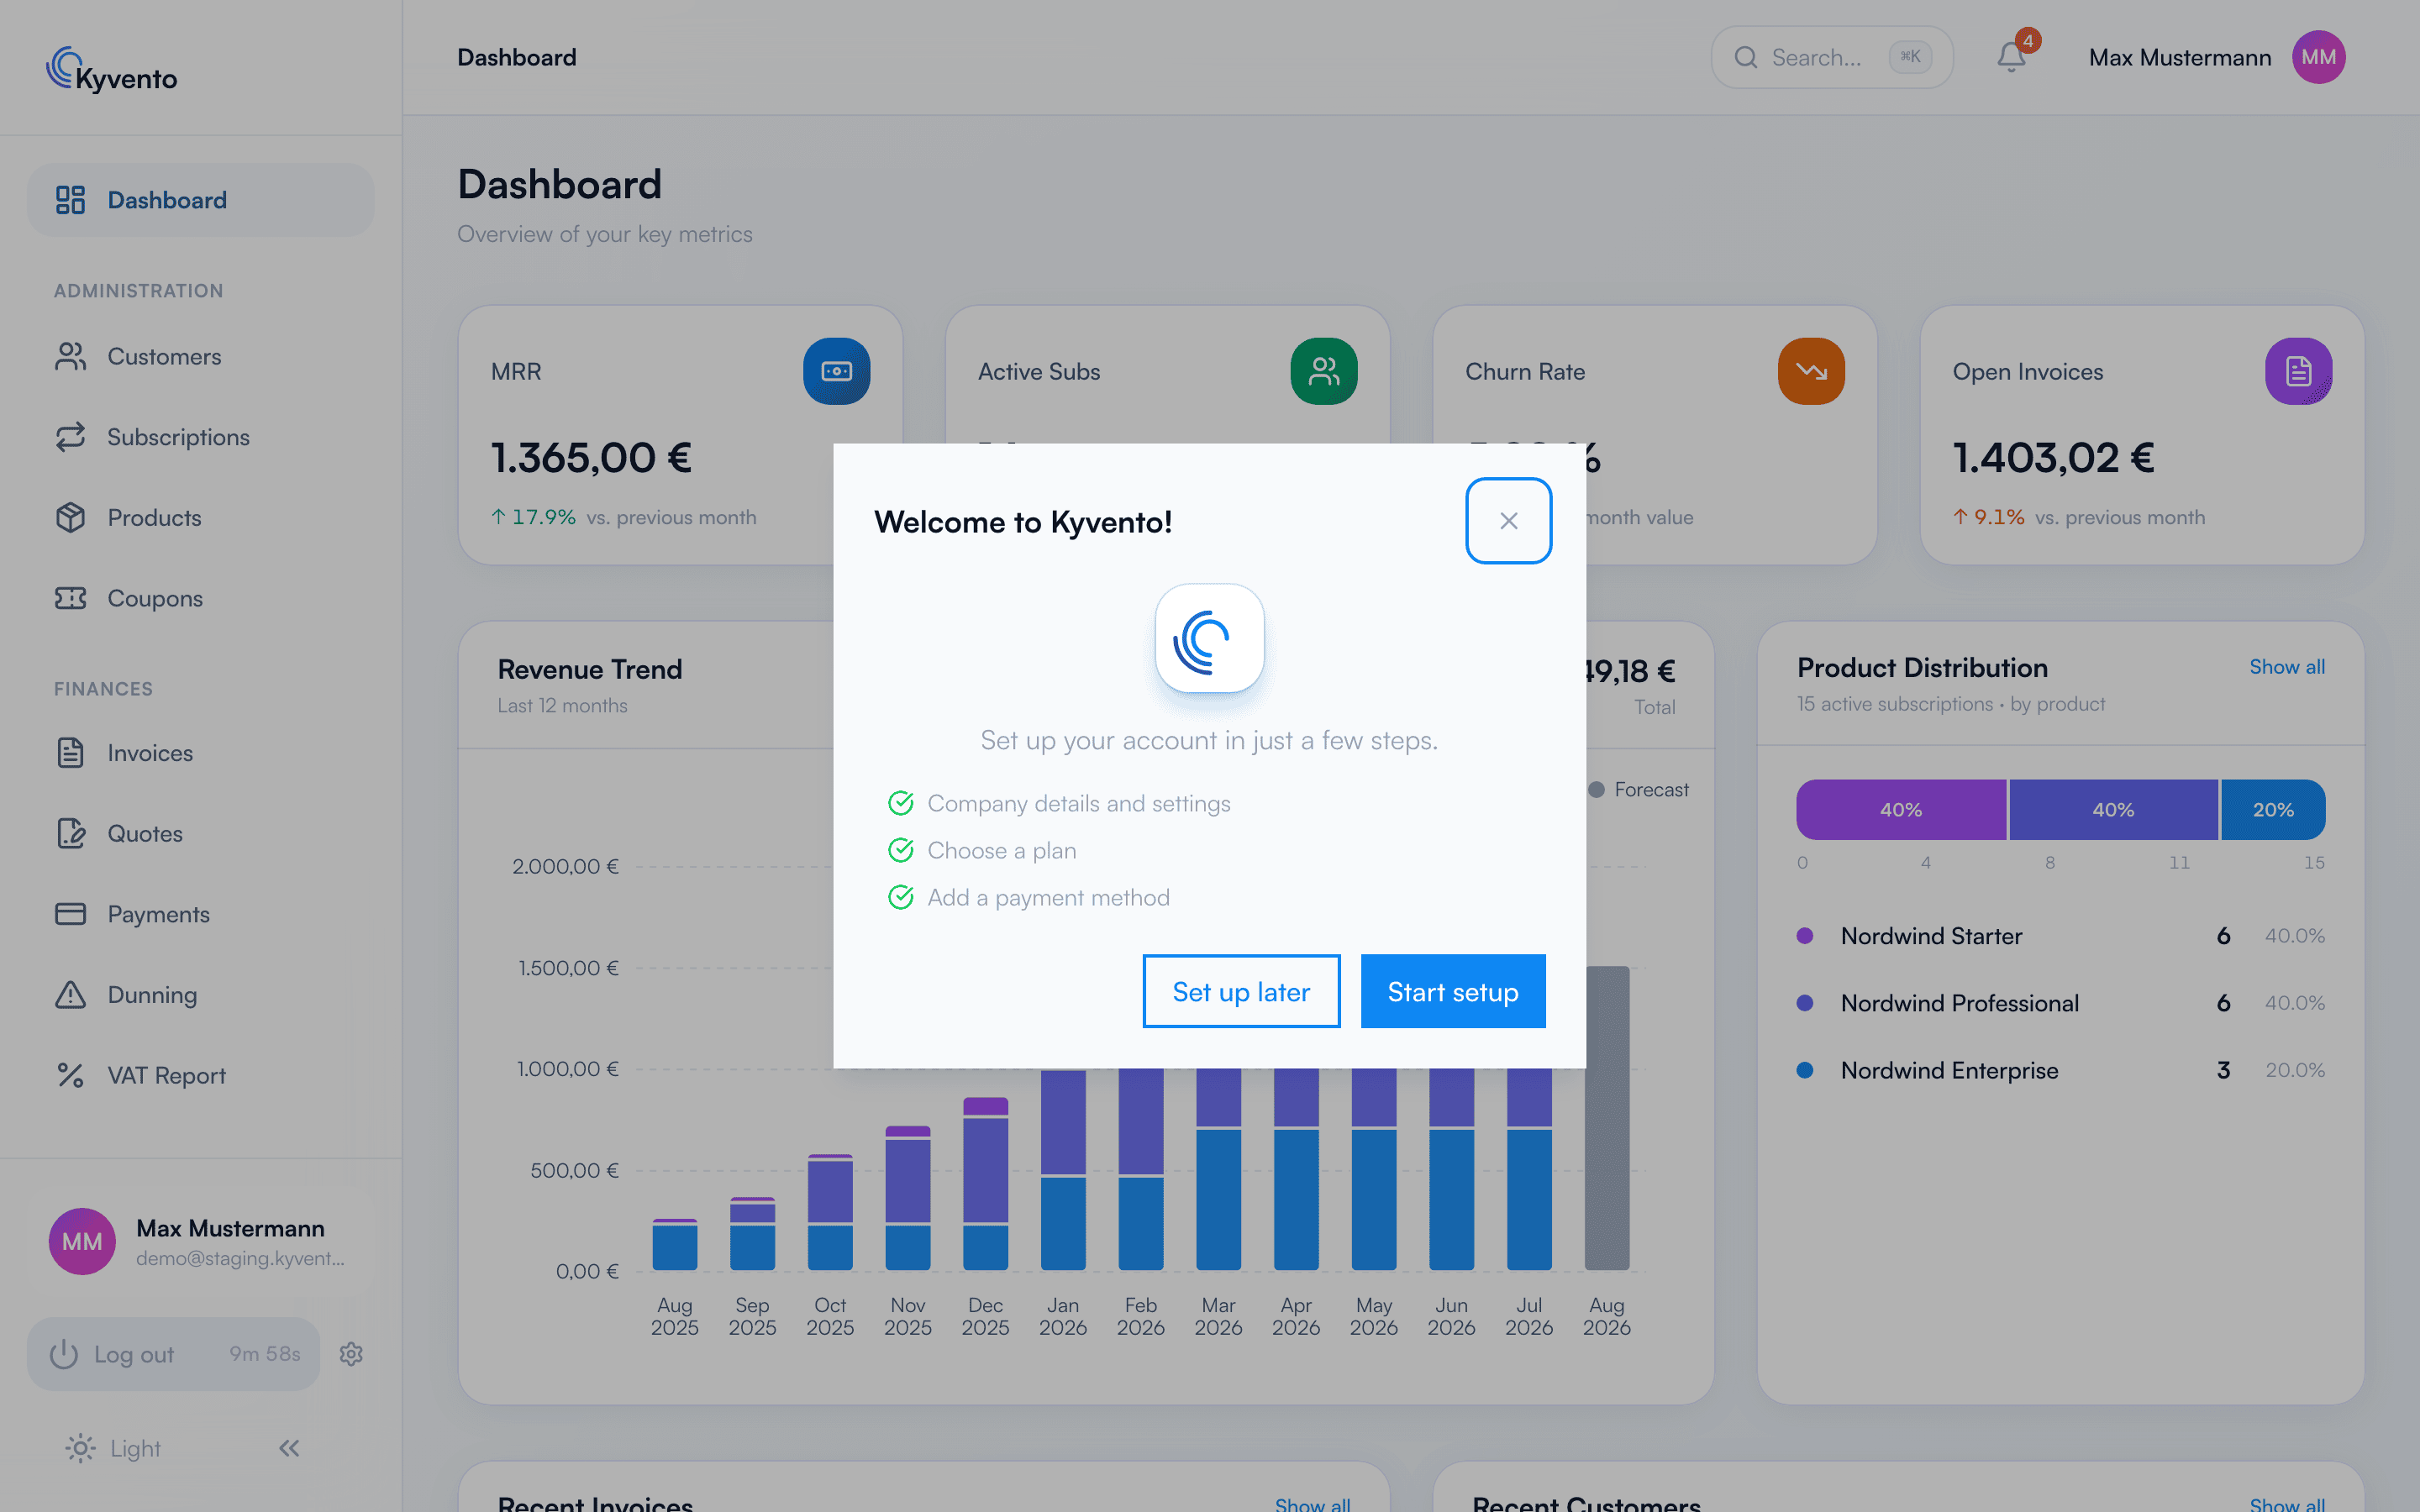
The wizard first asks for your company details and the basic settings — including currency, tax rate and the "Behaviour for a pending first payment" (Prepayment or Pay on invoice). The company details are mandatory. In the "Settings" step you confirm your account currency — "Next" only works once the checkbox is ticked, "Skip" leaves it unconfirmed. The following steps covering payment provider, emails, invoices, branding and checkout can be skipped and completed later. At the end you choose whether to start in test mode with no obligation or to book a plan straight away.
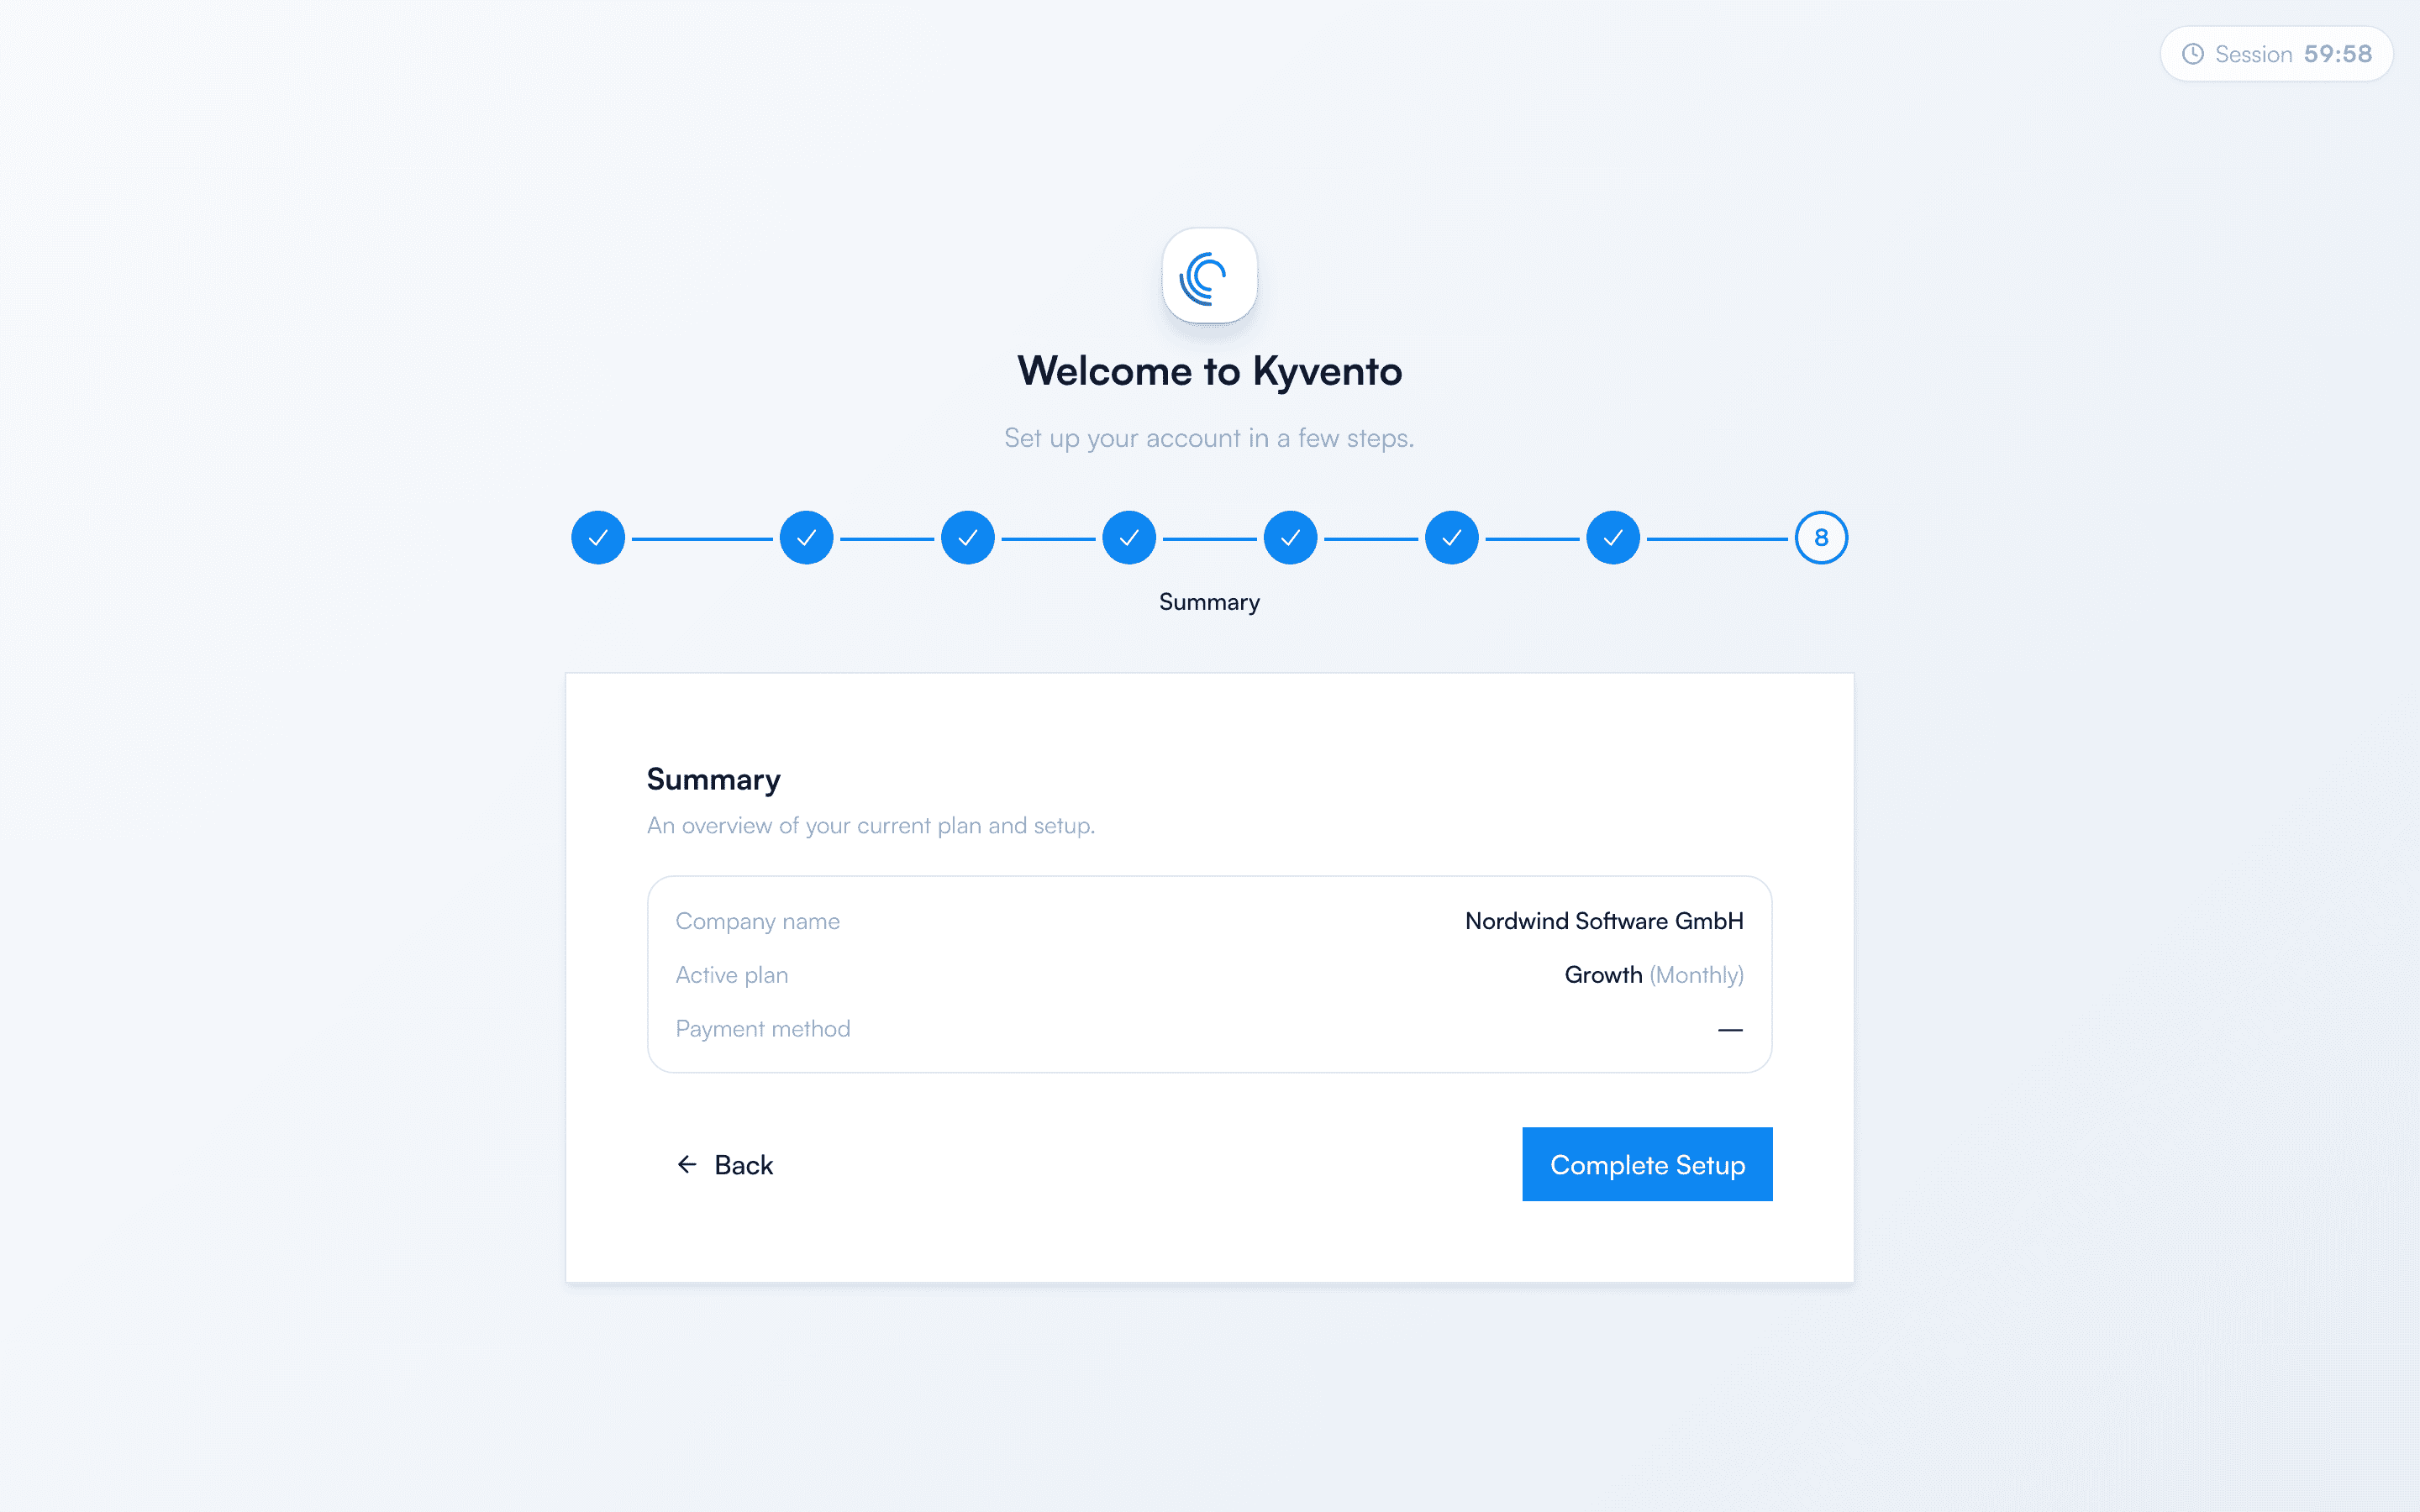
You can leave the wizard at any time via "Set up later" and resume it from the notice banner on the dashboard. If you leave before or during the "Settings" step, or skip it, your currency is not yet confirmed — you can then neither create your first product nor finalise your first invoice. You add the confirmation in the account settings, see Maintaining company and tax information.
Step 3: On to your first invoice
We then recommend this order:
- Check company details and tax — the details from the wizard are under "Settings" → "Account" and form the header of your invoices; see Maintaining company and tax information.
- Connect a payment provider — so that Kyvento can collect your customers' payments automatically, connect your provider under "Settings" → "Payments"; see Accepting credit card payments, Setting up SEPA direct debit or Integrating PayPal.
- Create your first product — under "Administration" → "Products" with "New Product", once the currency is confirmed; see Creating your first plans.
- Checkout and customer portal — on the checkout pages your customers book your products themselves, see Setting up hosted pages; in the customer portal they then manage their subscriptions and invoices — what they may do there is set under "Settings" → "Customer portal" → "General".
- Create your first customer and subscription — if you record a contract yourself rather than through the checkout: "Administration" → "Customers" → "New Customer", then on the customer's page "More actions" → "Add subscription".
- First invoice and delivery — subscriptions create their invoices by themselves; how an invoice is created and reaches your customer by email is explained in Automatic invoice creation and Sending invoices by email.
Step 4: Your Kyvento account
- Kyvento plan and payment method — under "Account" → "Billing" you choose your Kyvento plan and store the payment method for it. Before you do, read what choosing a plan means for a running trial in Changing or cancelling your Kyvento plan; the payment method is covered in Storing your payment method.
- Secure your account and invite your team — see Enabling two-factor authentication and Inviting team members and managing permissions.
Help
If you have questions, reach our team through a support ticket in the app — see Contacting support. What the metrics on your dashboard mean is explained in Dashboard overview: your key metrics.