Setting up hosted pages
Overview
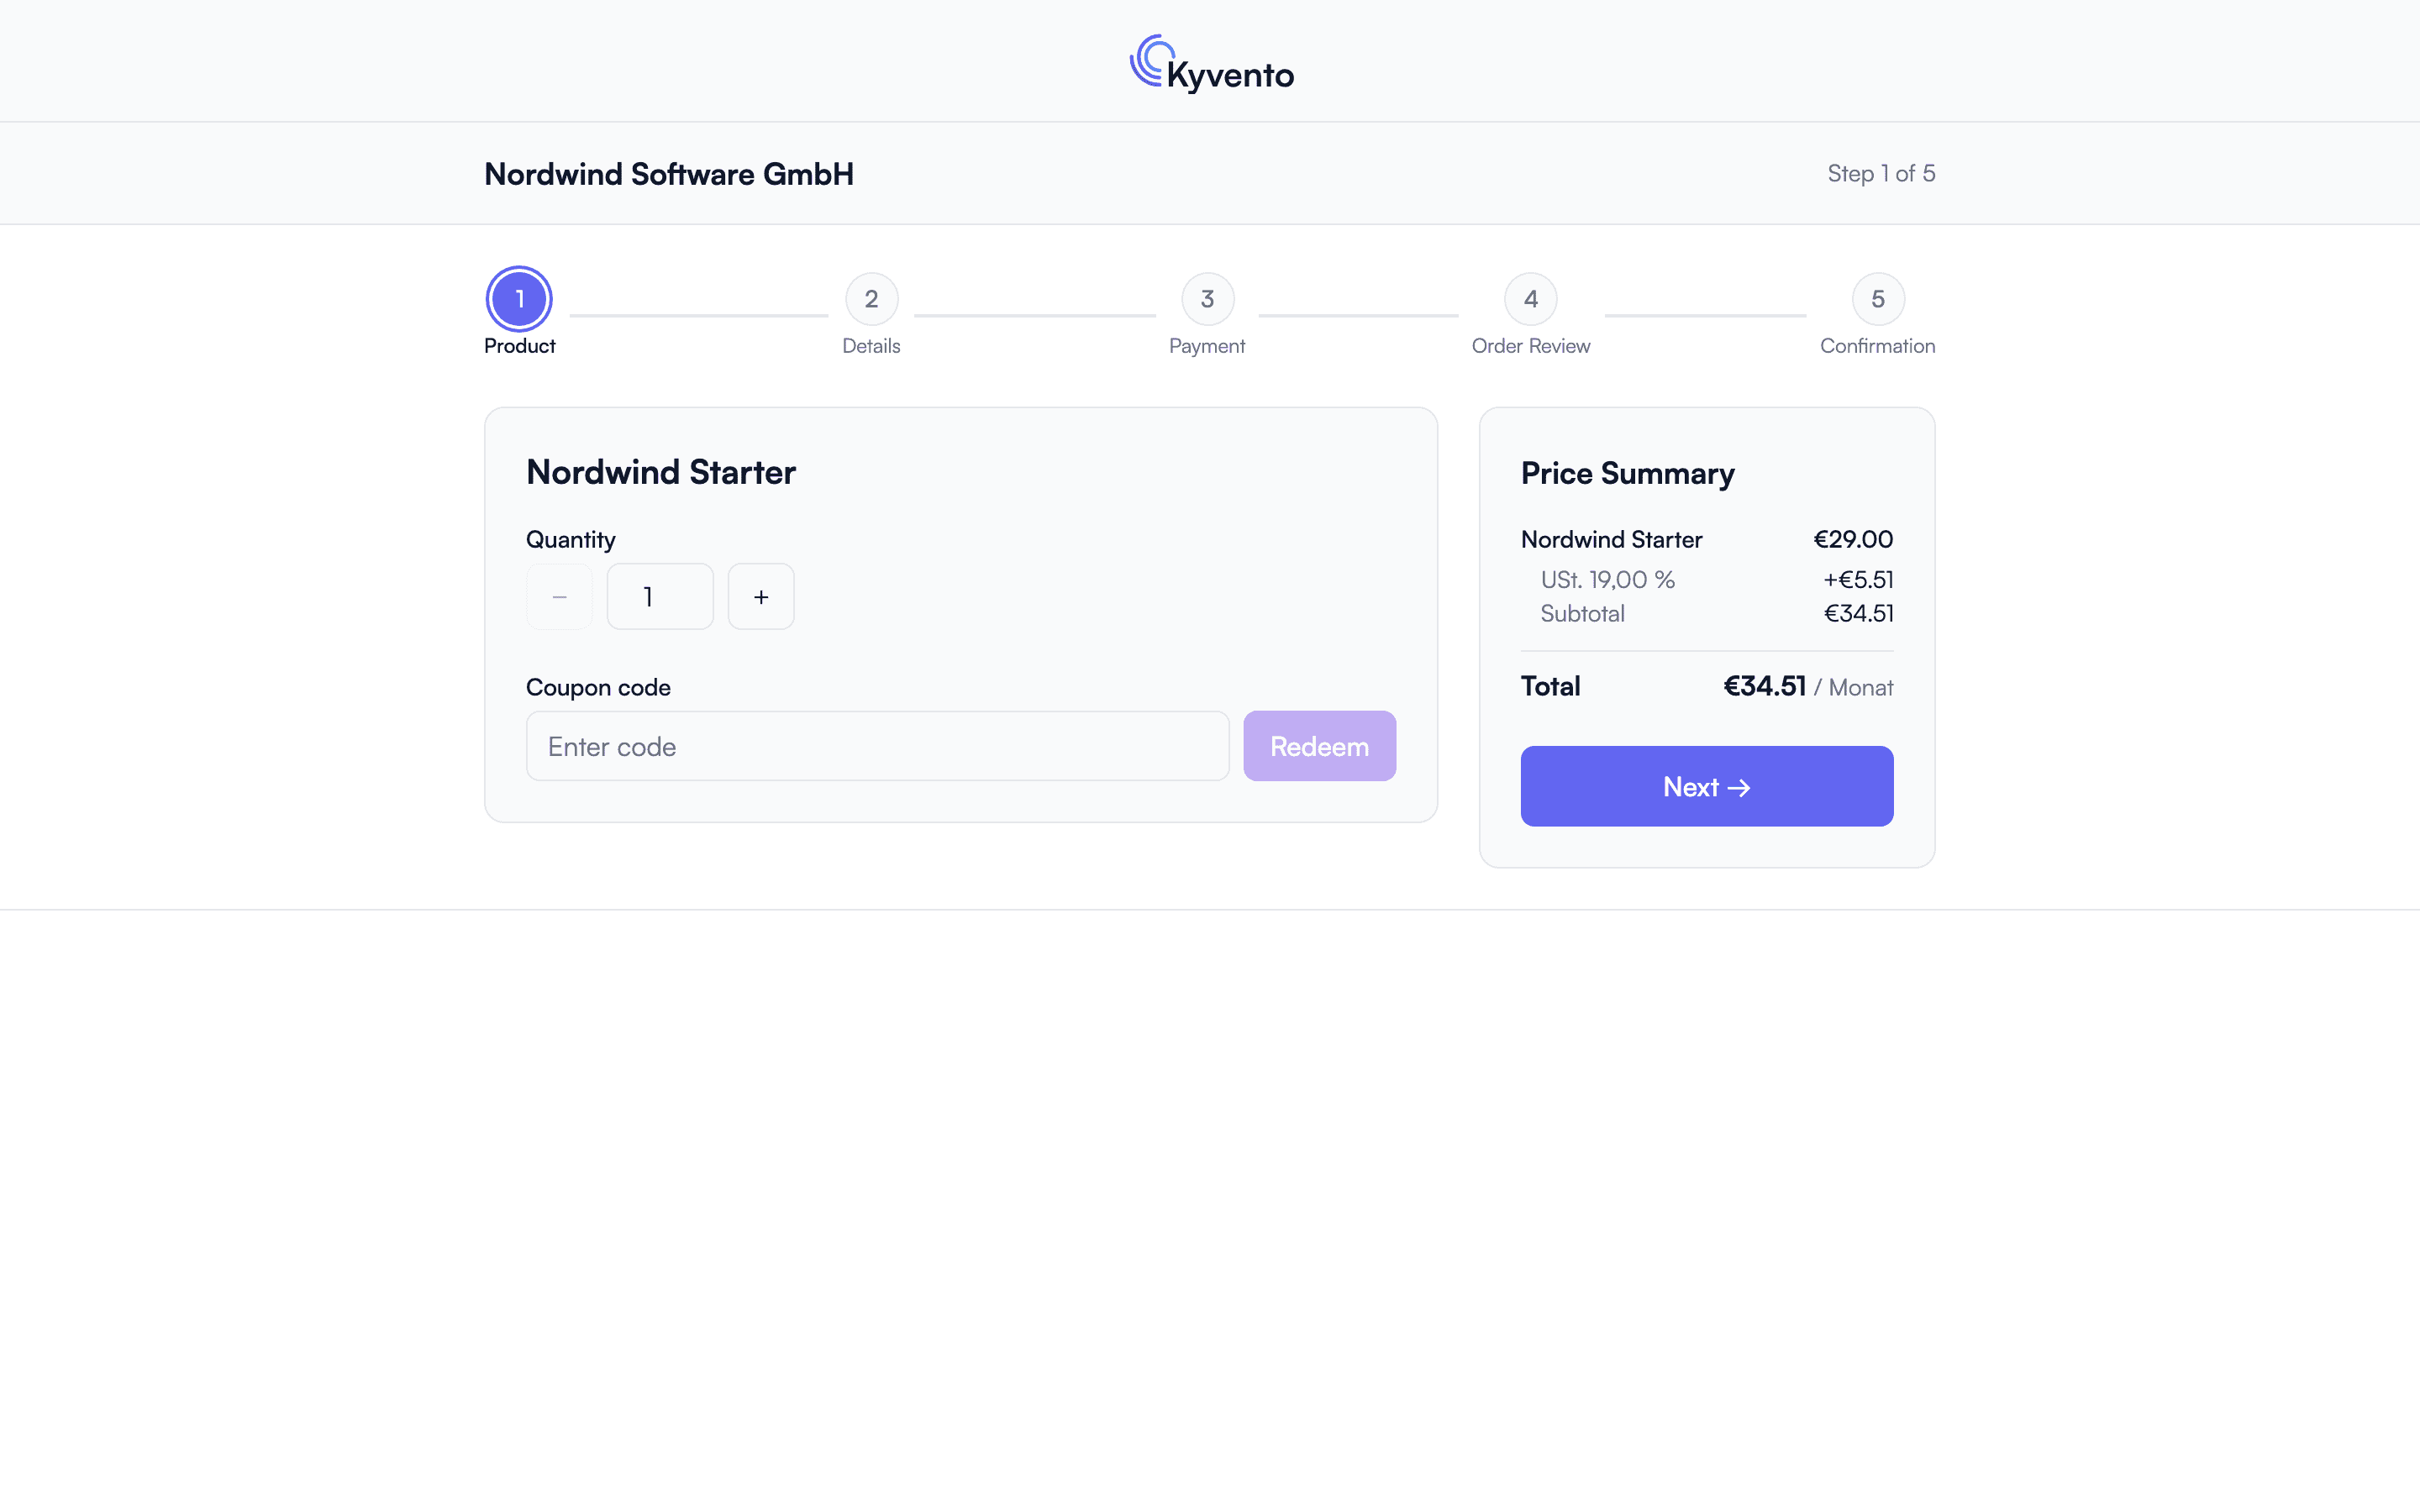
With the hosted pages you sell your subscriptions without a line of your own code: Kyvento provides a ready-made product overview and a multi-step checkout – all you do is link to it. This article shows where the links come from and which settings you have to make before your first sale.
The checkout link
Every active product has its own checkout address following the pattern …/checkout/your-account-slug/product/product-slug – except add-ons, which can only be booked together with a main product. The quickest route there is the product detail page: "More actions" → "Checkout" opens it. You place that link on your website, in emails or in ads.
There is also a product selection page listing all active products – it is the start page under your account slug. Switch it off in the settings if customers should only order via direct product links; the start page then returns a 404 while the product links keep working.
Imprint and privacy: your obligation towards customers
Towards your customers you owe a provider identification (Section 5 DDG) and privacy information (Article 13 GDPR) – also on the pages Kyvento delivers for you. So enter the addresses of your imprint and your privacy policy: both point to pages on your own website, and Kyvento links them in the footer of the checkout and the customer portal. Kyvento does not check whether the two addresses are set – the checkout and the customer portal run without them, but the obligation towards your customers stays with you.
Two further legal addresses take effect elsewhere:
- The Terms (AGB) URL does not appear in the footer but behind the consent checkbox in the order step. Without it you also cannot enable self-service booking in the customer portal (Section 312j BGB).
- The right-of-withdrawal URL is optional. If it is set, the checkout links it in a mandatory checkbox that only private customers get to see.
Enter the legal addresses before you send out the first checkout link.
Who may order from you
Under Settings → "Hosted Pages" ("Checkout" group) you use "Sell to" to decide whether private customers, business customers or both may order. The choice reaches further than it looks: it affects the tax logic (reverse charge), the right of withdrawal, and the salutation in emails and invoices.
The "Countries" section restricts which countries you sell to. Without a selection your checkout is open to every country – that is the default, and rarely the right setting when you ship physically or only cover certain markets for tax.
Form fields – with a side effect
You decide per field whether it appears in the checkout and whether it is mandatory. The same selection, however, also governs the profile in the customer portal: what you hide here, your customers no longer see there either. Fields that already hold a value stay visible in the portal as read-only.
Which fields you had better leave in place is covered in Optimizing the checkout flow.
Language
The checkout speaks German and English. You control the language per link with the parameter ?locale=de or ?locale=en – without a parameter Kyvento picks automatically (last used language, account language, browser language).
Recommended setup
- Enter the legal page URLs – Kyvento does not check them, but your customers need them.
- Define your sales segment and countries.
- Adapt the design to your brand – see White-label checkout: customizing the design.
- Run a test purchase through your own checkout, ideally with a test product.
- Optionally put your own domain in front – see Using your own checkout domain.
Next steps
- Colors, fonts and logo – see White-label checkout: customizing the design
- The five steps from the customer's perspective – see Optimizing the checkout flow