Setting up SEPA direct debit
Overview
SEPA direct debit is the most predictable payment method in the subscription business: you collect amounts when they fall due instead of waiting for bank transfers. Kyvento knows two routes for this, and they differ fundamentally — choose one deliberately first.
- Collection via your payment provider — Stripe or Unzer handle the mandate and the collection. The standard route, and the only one offered in the checkout and the customer portal.
- Your own SEPA collection — you create the direct debit file yourself and submit it to your bank. This requires your own creditor identifier.
Route 1: collection via the payment provider
Requirements
- A connected payment provider — SEPA technically runs via Stripe or Unzer (see Accepting credit card payments). Whether SEPA can be selected depends solely on the status of that connection.
- No creditor identifier of your own. On this route you do not need to apply for one: the collection runs under your payment provider's creditor identifier, while you remain named as the payee on the mandate.
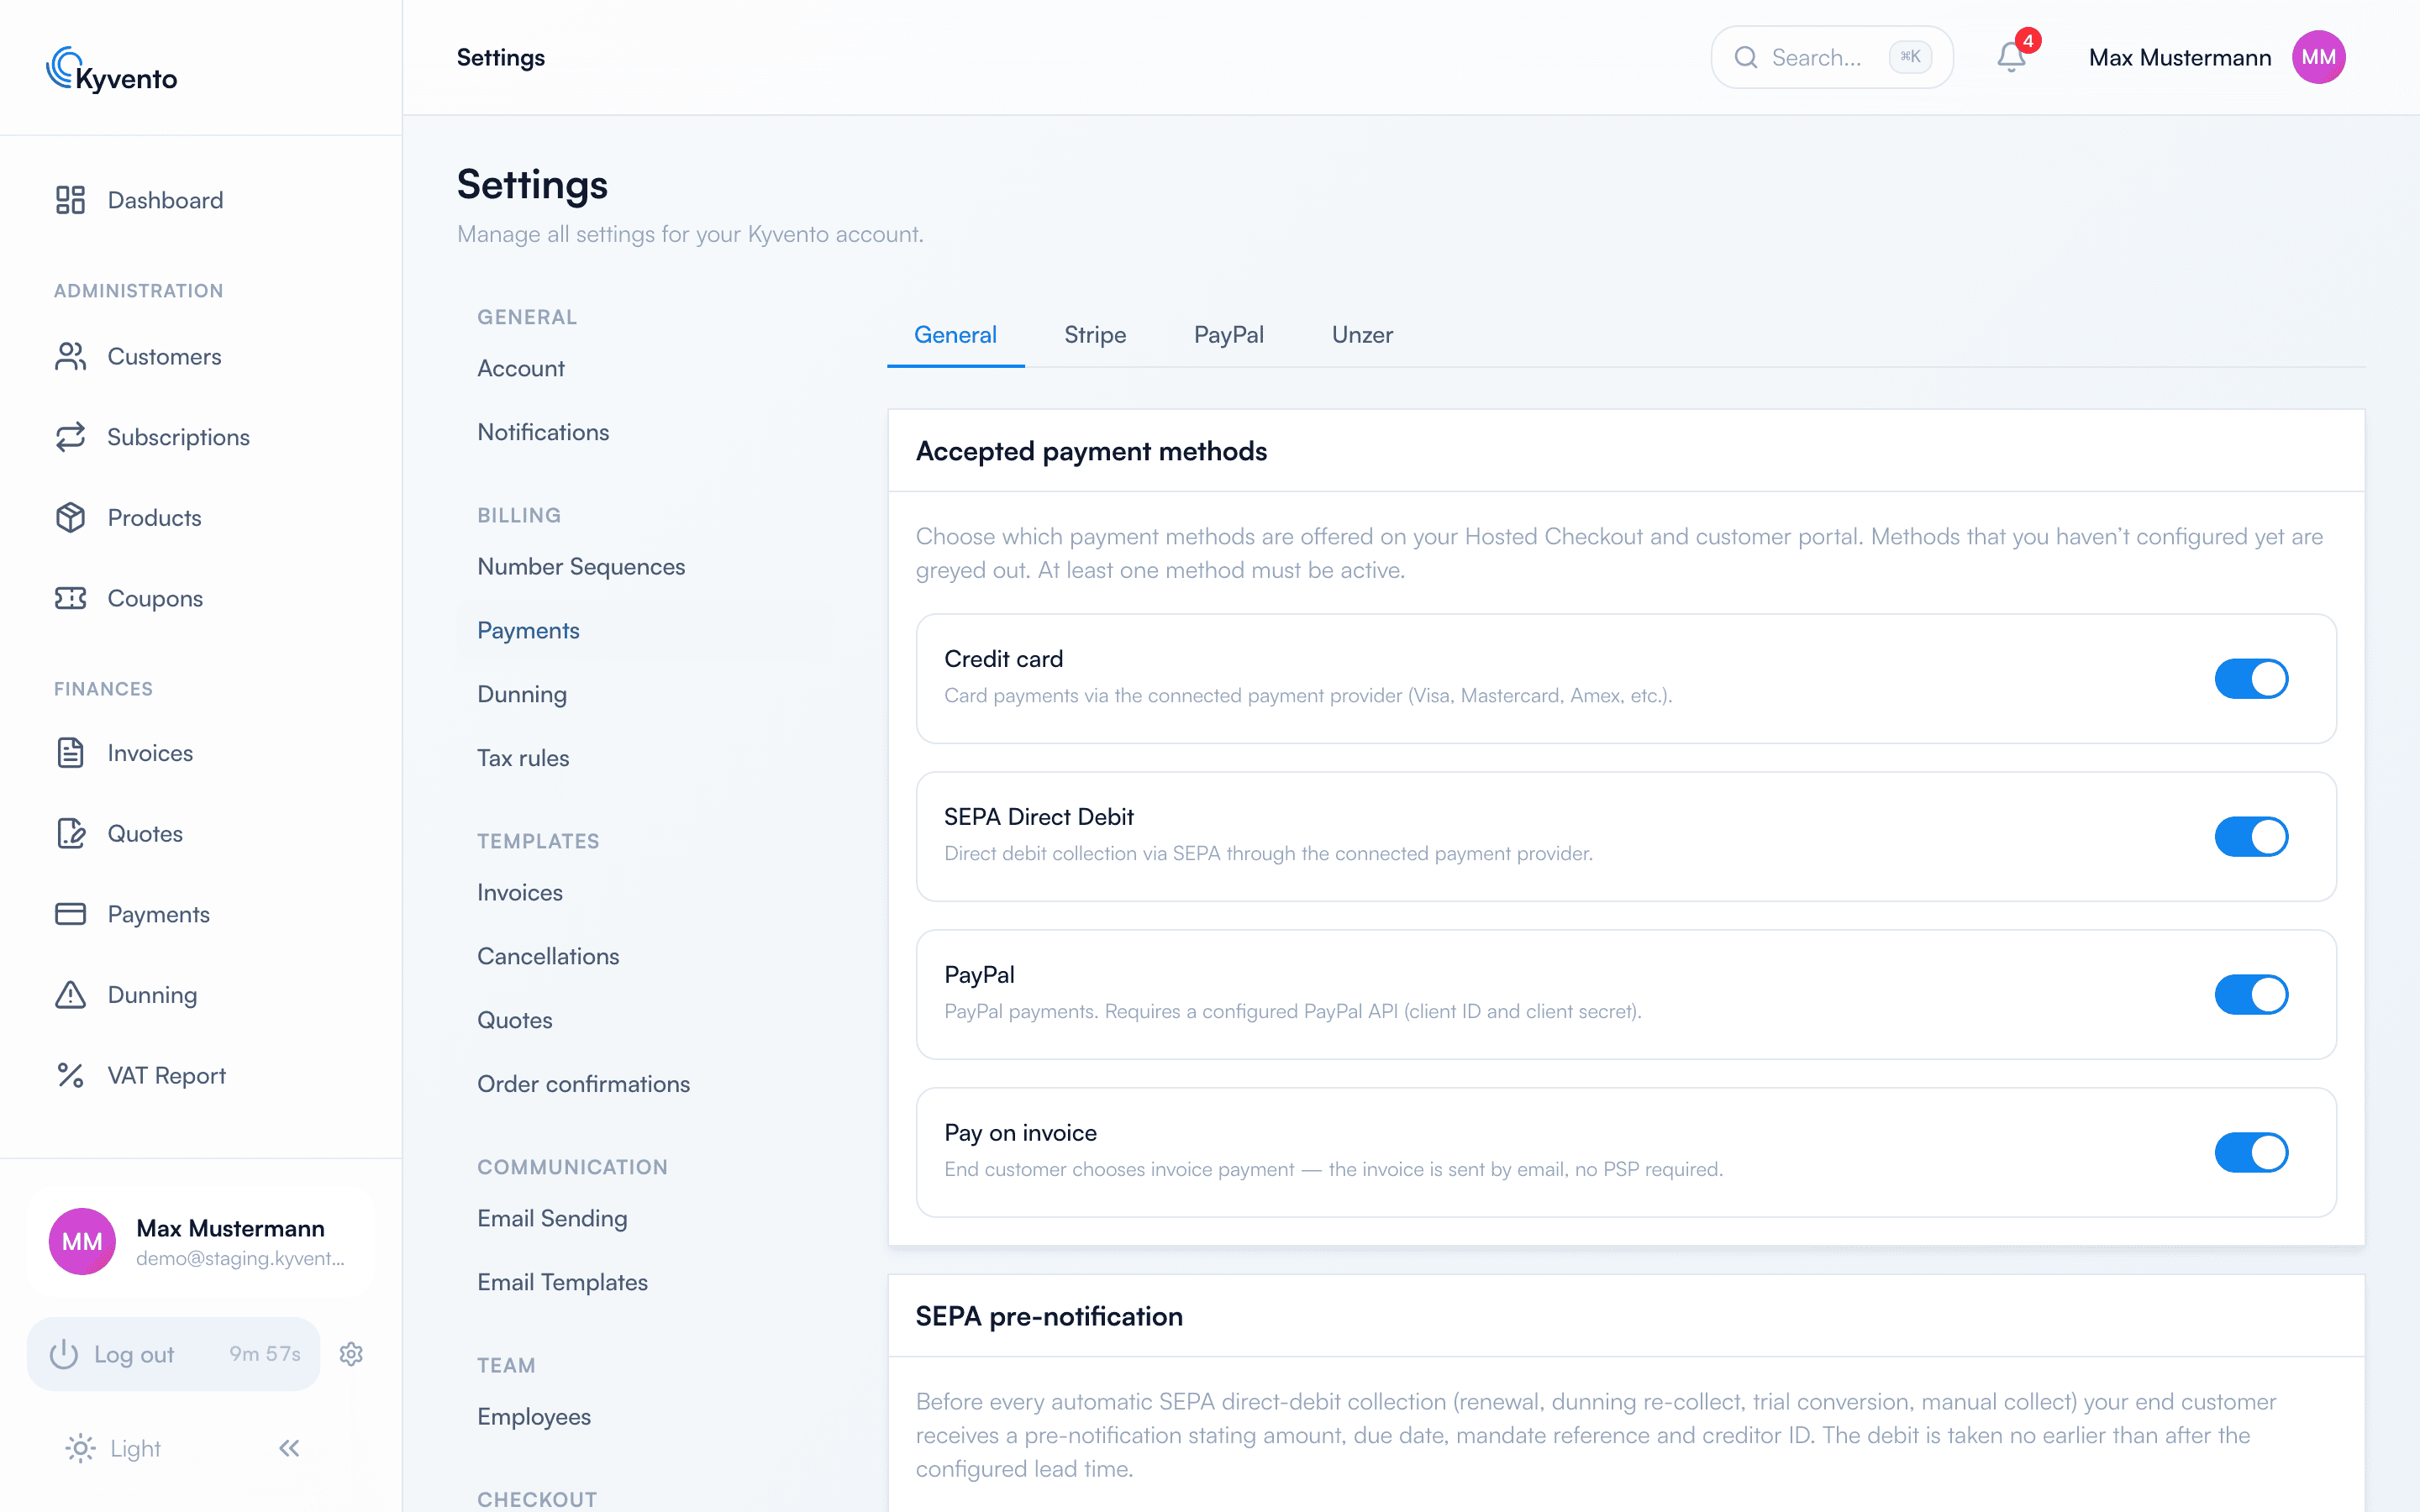
Under "Settings" → "Payments" → "General" tab you enable the "SEPA Direct Debit" payment method — it is then offered in the hosted checkout and the customer portal.
How the mandate comes about
The customer grants the SEPA mandate themselves at checkout: they enter their IBAN and confirm the mandate text; Kyvento documents the consent server-side with timestamp, IP address and browser. A mandate PDF is then created automatically, showing the mandate reference, the last digits of the IBAN and the creditor identifier of the collecting provider — traceable on the customer at any time.
Route 2: your own SEPA collection
If you would rather collect through your own bank, the route leads via the "SEPA collection" navigation entry under "Finances". Here the opposite of route 1 applies: you are the creditor. Without your own creditor identifier — applied for at the central bank — and a stored collection account, nothing can be created; you enter both in the payment settings.
The process is deliberately manual:
- You choose a collection date. It has to be a banking day and lie at least two banking days in the future — the file still needs to reach your bank and be accepted there.
- The preview shows which claims are included and which are not, each with a reason — for instance because the amount differs from the announced one or the invoice is no longer open.
- You create the direct debit file and submit it to your bank.
Two points matter because they concern money:
- Kyvento learns nothing from your bank. For credits and returns to be posted, upload your bank statement (camt.053) or a table file under "Feedback from your bank". Matching happens via the reference from the direct debit file; uploading the same file twice changes nothing. The file itself is not retained — a bank statement contains your customers' complete bank details.
- Kyvento cannot recall a direct debit once it has been submitted to your bank. For that, contact your bank.
Created files are deleted after seven days; they can be recreated from the batch afterwards.
The complete process — creditor identifier, recording mandates, creating the file, uploading the feedback — is described in Collecting SEPA direct debits through your own bank.
Collection in day-to-day subscription life
- Kyvento announces every subscription renewal to the customer seven days in advance, plus the SEPA pre-notification before the collection. That way no debit comes as a surprise — and returns become rarer.
- If a collection is declined, Kyvento does not retry it on its own. The invoice stays open and dunning takes over — see Failed payments: smart retry.
- If a direct debit comes back, you may have to record it — see Recording a chargeback manually.
Next steps
- Connect a provider — see Accepting credit card payments
- Dealing with returned direct debits — see Recording a chargeback manually