Storing your payment method
Overview
This article describes how to store the payment method for your own Kyvento invoice — that is, the payment for your Kyvento plan. (How your end customers pay you is configured separately under "Settings" → "Payments".)
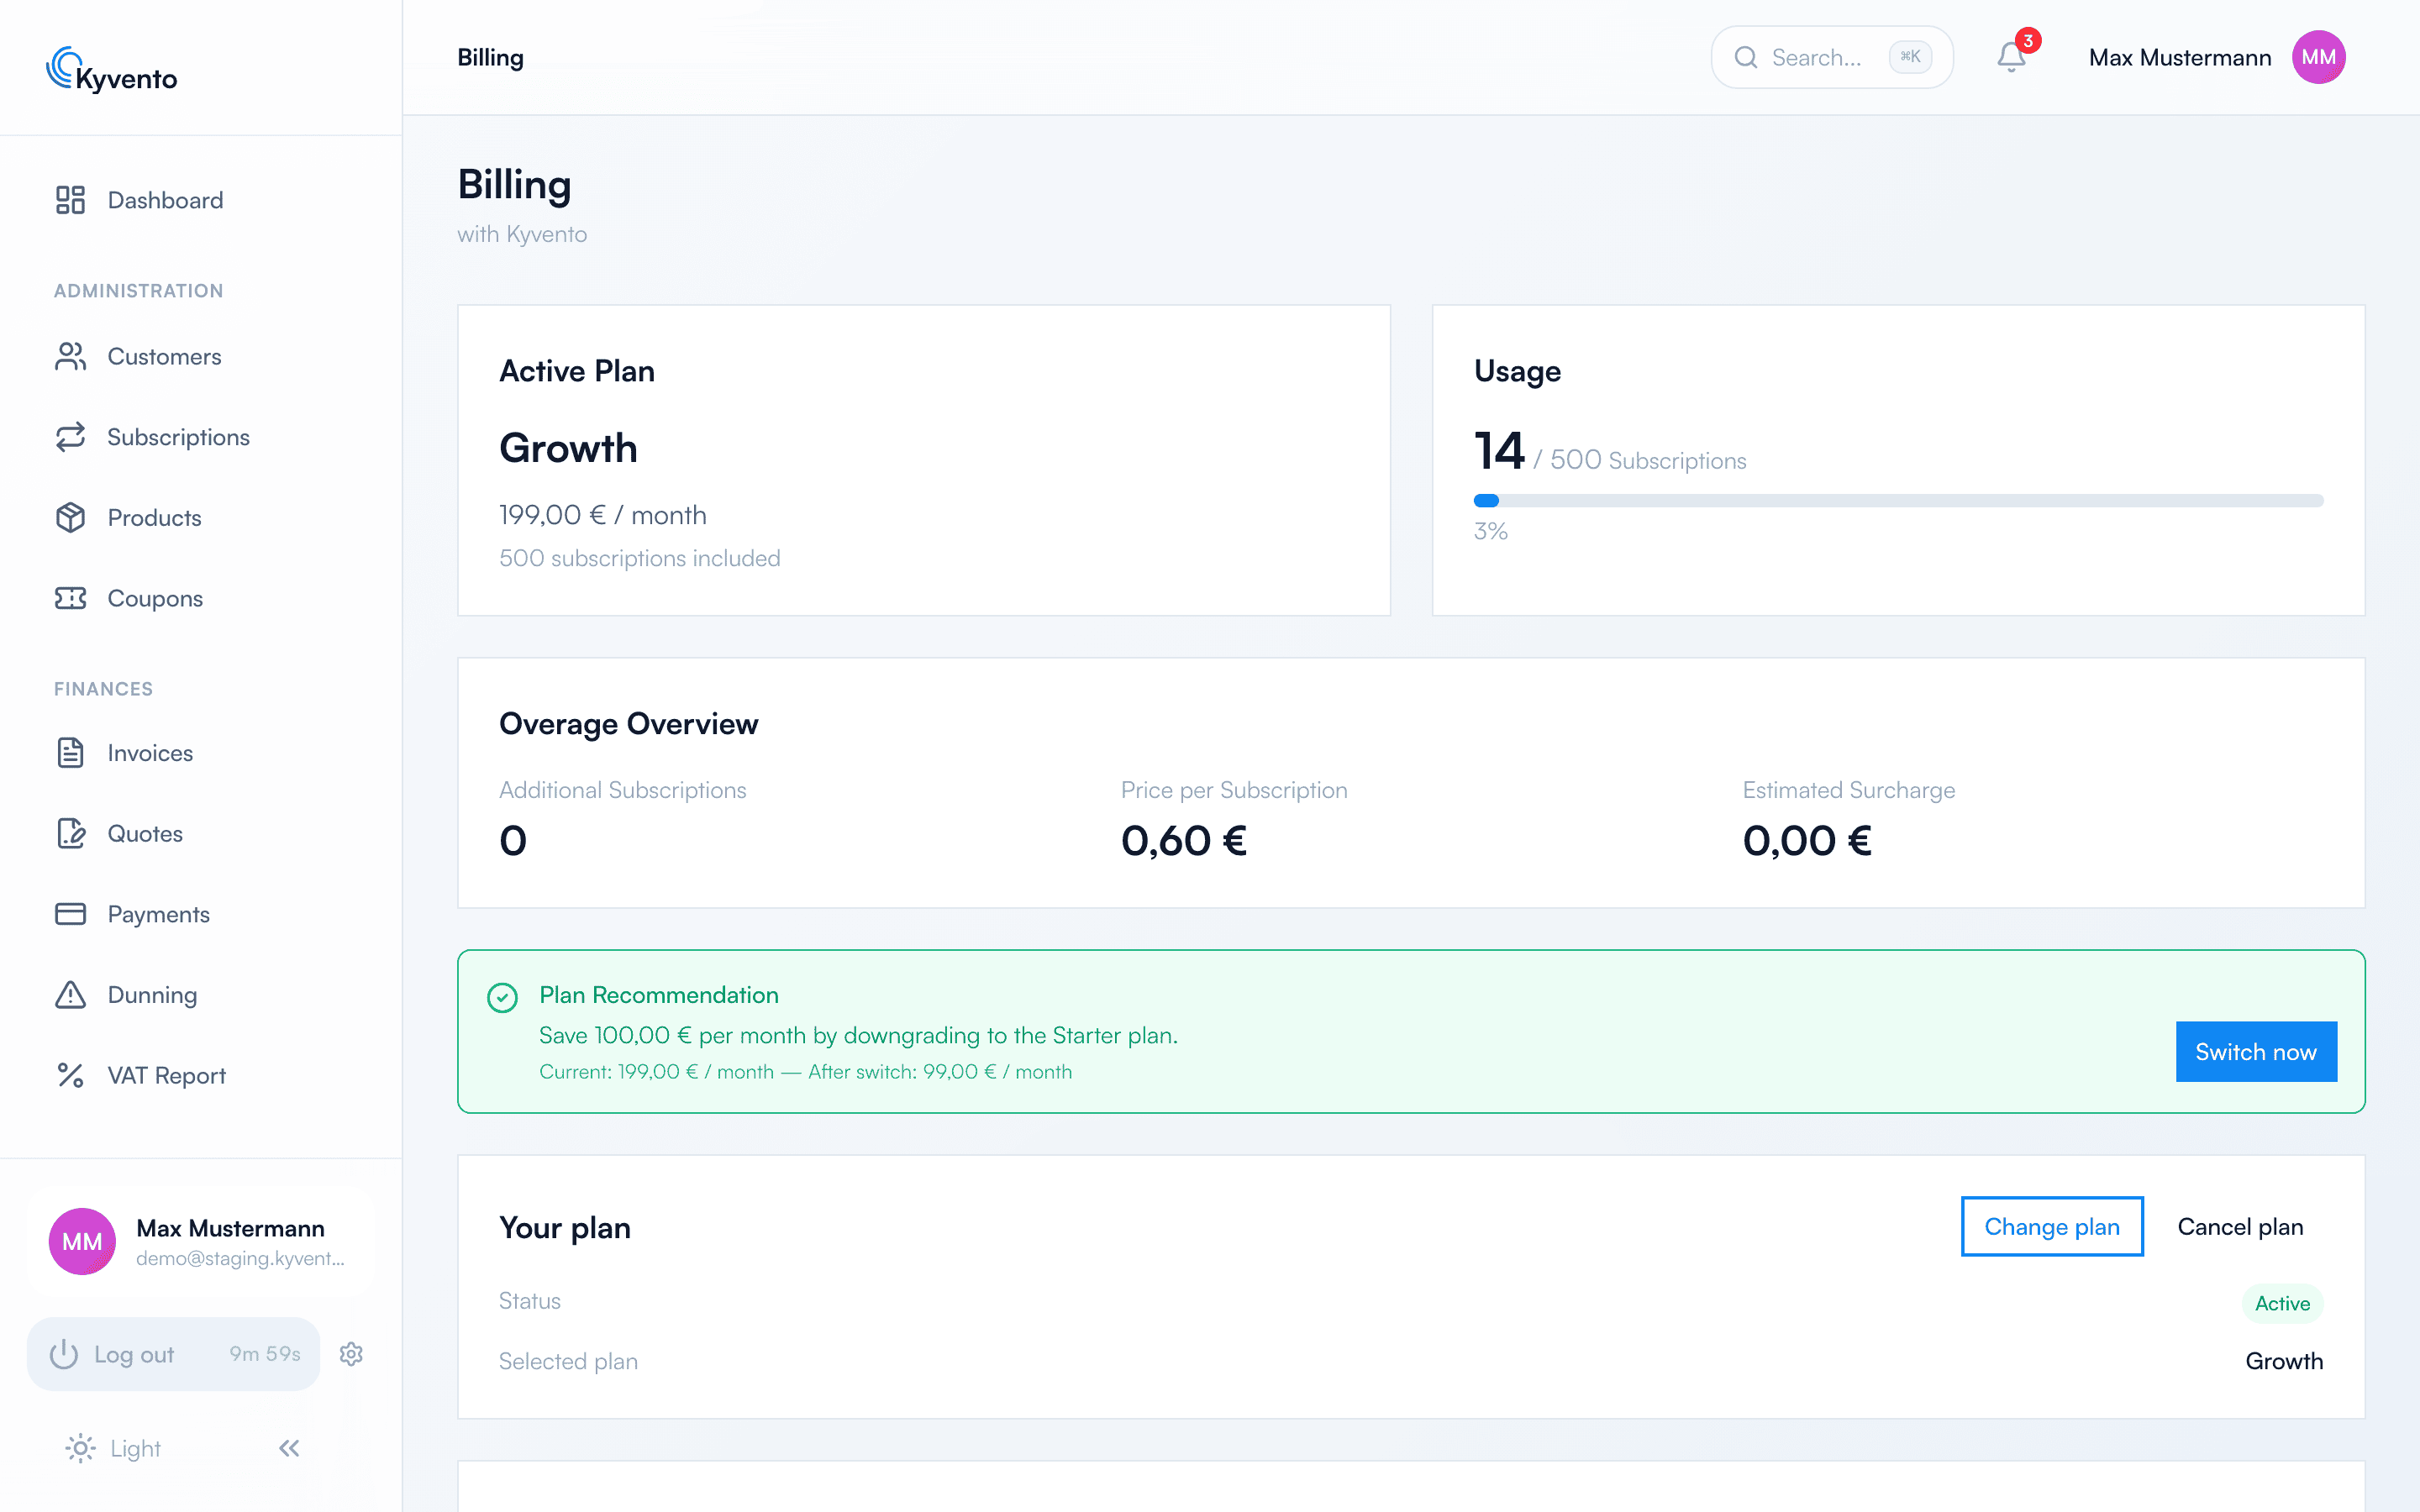
The billing page
In the sidebar under "Account", open "Billing". Your active plan including quota usage, your payment methods and your invoice history all sit together there.
One card is missing at first and is therefore worth mentioning: "Next Invoice (Preview)" only appears once your account is billable and has line items — so not yet during a pure trial.
Add a payment method
- In the payment methods area, click "Add payment method".
- In the secure payment form, choose between credit card and SEPA direct debit and enter your details. Processing runs through our payment service provider Stripe — your payment data never reaches Kyvento in plain text.
- Confirm with "Confirm payment method".
Trial and plan selection
Your trial runs for 14 days with restricted quotas. Here's what happens afterwards:
- Book a plan via "Choose a plan". The trial ends with this order and the amount is charged immediately – for details see Changing or cancelling your Kyvento plan.
- Without a plan selection, Kyvento grants a grace period of 3 days after the trial and reminds you by email during that time. The period ends at the start of the fourth day after the trial ends – so you have at least three full calendar days. After that, the account is paused.
- The pause is lifted automatically as soon as you book a plan and the first payment is successful — your data is of course retained throughout.
Next steps
- Details on plan changes, the first booking and the grace period — see Changing or cancelling your Kyvento plan
- Set up payment collection from your end customers — see Setting up SEPA direct debit and Accepting credit card payments